Figuring out how to fix a dripping showerhead saves water, money and your sanity at two in the morning. A steady drip wastes hundreds of gallons a year. Luckily, the cause is nearly always one of three things: a clogged nozzle, a worn washer or a failing valve cartridge. This guide shows how to fix a dripping showerhead by working through each possibility in order.
First Decide Where the Drip Comes From
This distinction matters, so check it before buying parts.
- Drips for a minute then stops. That is just water draining out of the head. It is normal.
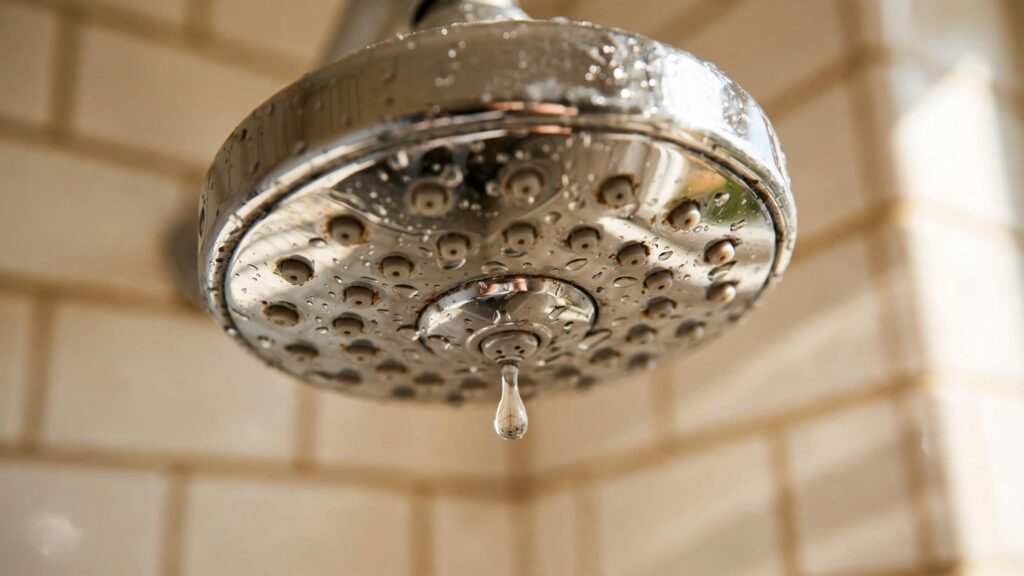
- Drips continuously from the nozzles. The shower valve is not shutting off fully.
- Drips from where the head meets the arm. The thread seal has failed.
- Drips from the tub spout while the shower runs. The diverter is worn.
What You Need
- Adjustable wrench or channel-lock pliers
- A cloth or masking tape to protect the finish
- PTFE plumber’s tape
- White vinegar and an old toothbrush
- Replacement washer and O-rings
- A replacement valve cartridge, if needed
- Allen key set and a flathead screwdriver
Fix 1: Descale the Showerhead
Mineral scale blocks some nozzles and forces water to weep out of others. Therefore, start by cleaning it.
Unscrew the head counter-clockwise, protecting the finish with a cloth first. Then soak it in white vinegar for one hour. Scrub the face plate with a toothbrush and poke each nozzle with a pin. Finally, rinse it well and check the small rubber washer inside the collar.
If that washer is flattened, cracked or hard, replace it. A new washer costs almost nothing and seals the joint properly.
Fix 2: Re-Seal the Shower Arm Threads
If water seeps where the head meets the arm, the threads need fresh tape. Wipe the arm threads clean and dry them. Next, wrap three turns of PTFE tape clockwise around them. Then screw the head back on hand-tight, plus a quarter turn with the wrench.
Avoid over-tightening. Too much force cracks plastic collars and distorts the washer.
Fix 3: Replace the Valve Cartridge
A continuous drip from the nozzles means the valve behind the wall is not closing. Replacing the cartridge solves it.
Step 1: Shut Off the Water
Turn off the main supply to the house, or use the shut-off behind the access panel if you have one. Then open the shower to release pressure.
Step 2: Remove the Handle
Pop off the decorative cap and loosen the screw underneath. Some handles use a small Allen screw instead. Pull the handle straight off.
Step 3: Remove the Trim and Retaining Clip
Unscrew the escutcheon plate. Behind it you will find a brass or plastic retaining clip. Pull it out with needle-nose pliers and keep it safe, because you need it again.
Step 4: Pull the Cartridge
Grip the cartridge stem and pull it straight out. If it resists, twist it gently to break the mineral bond. Some brands sell an inexpensive puller tool for stubborn cartridges.
Step 5: Match and Install the New One
Take the old cartridge to the store. Brands such as Moen, Delta and Kohler all use different designs. Lubricate the new O-rings with plumber’s grease, then push the cartridge in until it seats fully. Replace the clip, trim and handle.
Step 6: Test Carefully
Turn the water back on slowly. Run the shower hot and cold, then shut it off and watch for 15 minutes. No drip means success.
Fix 4: Replace a Worn Tub Diverter
If water dribbles from the tub spout while the shower runs, the diverter inside the spout is worn. Most spouts either unscrew or slide off after loosening a set screw underneath. Replacing the whole spout is usually cheaper than rebuilding it.
Mistakes to Avoid
- Do not grip chrome with bare pliers. Always pad the jaws.
- Do not wrap PTFE tape counter-clockwise, since it unwinds as you tighten.
- Do not lose the retaining clip. The cartridge will blow out under pressure without it.
- Do not buy a cartridge by guesswork. Bring the old one.
- Do not forget to shut off the main before opening the valve body.
When to Call a Plumber
Call a professional if the valve body itself leaks inside the wall, if you see water staining on the ceiling below, or if the cartridge will not budge. Hidden leaks cause expensive damage quickly. Our guide on how to find a water leak explains the warning signs to watch for.
Why Fixing It Is Worth the Effort
A drip once per second wastes roughly 3,000 gallons a year. The EPA estimates that easily corrected household leaks waste about 10,000 gallons annually in the average home. Consequently, a two dollar washer can shave a noticeable amount off your water bill. Our guide on how to fix a leaky faucet applies the same logic to sinks.
Final Thoughts
Now you know how to fix a dripping showerhead at every likely failure point. Clean and reseal first, because that solves the majority of cases. If the drip continues, replace the cartridge. Both repairs are well within reach for a first-time DIYer with basic tools.
Questions About How to Fix a Dripping Showerhead
Is a drip after showering normal?
Yes. Water trapped in the head and arm drains out for a minute or two. Only a continuous drip indicates a fault.
Do I need to turn off the whole house?
For cleaning and resealing, no. For cartridge replacement, yes, unless your shower has its own access panel with isolation valves.
How much water does a drip waste?
Roughly 3,000 gallons a year at one drip per second. Learning how to fix a dripping showerhead pays for itself quickly.