A door that catches on the frame is irritating every single time you use it. Learning how to fix a sticking door usually takes about ten minutes, and the first thing to try costs nothing. Most people reach straight for a plane, which is almost always the wrong move. This guide explains how to fix a sticking door by diagnosing the cause first, then applying the least invasive repair.
Step 1: Find Out Where It Sticks
Diagnosis determines the fix, so take two minutes here. Close the door slowly and watch where it makes contact. Then slide a piece of paper around the gap to find tight spots.
Use this guide to interpret what you find:
- Sticks at the top of the latch side. The top hinge is loose. This is the most common cause by far.
- Sticks at the bottom of the latch side. The bottom hinge is loose, or the frame has settled.
- Sticks along the whole latch edge. The door has swollen, or the hinge side needs shimming.
- Sticks only in humid weather. Wood swelling. Seal the edges.
- Rubs the floor. Hinges have sagged, or the floor covering changed.
Step 2: Tighten the Hinge Screws
Try this before anything else, because it solves most sticking doors.
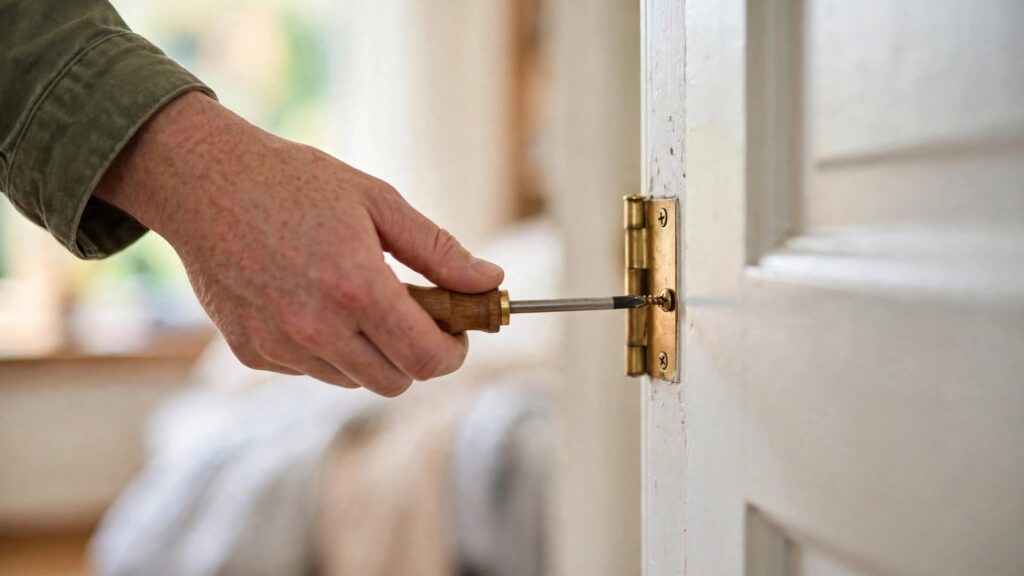
Open the door and support its weight with a wedge or a stack of magazines under the outer edge. Then tighten every hinge screw firmly with a screwdriver rather than a drill, so you can feel when they seat.
Pay particular attention to the top hinge. It carries most of the door’s weight, and when its screws loosen the whole door tilts toward the latch side.
Step 3: Fix Stripped Screw Holes
If a screw spins without tightening, the hole is stripped. There are two good fixes.
The Longer Screw Method
Replace the short hinge screw with a three inch wood screw of the same head type. It passes through the jamb and bites into the stud behind it. This is genuinely the strongest repair and often pulls the door back into alignment on its own.
The Wood Filler Method
Alternatively, dip wooden toothpicks or golf tees in wood glue and pack them into the hole. Let the glue dry, trim them flush, then drive the original screw into solid wood.
Step 4: Shim the Hinges
If the door still rubs on the latch side, add a thin shim behind the hinge on the opposite side.
Remove the screws from one hinge leaf on the jamb. Next, cut a piece of thin cardboard to match the mortise shape and cut slots for the screws. Then refit the hinge over the shim. This pushes that edge of the door slightly away from the frame.
Work with one hinge at a time and test the swing after each change.
Step 5: Deepen a Hinge Mortise
The reverse problem happens too. If the door binds on the hinge side, that hinge sits too proud of the jamb.
Remove the hinge and pare the mortise slightly deeper with a sharp chisel. Take thin shavings and check often, because you cannot put wood back.
Step 6: Plane the Edge as a Last Resort
Only plane when the door is genuinely too wide, which usually means it has swollen or the frame has shifted permanently.
- Mark the contact area clearly with a pencil while the door is hung.
- Take the door off its hinges and lay it on sawhorses.
- Plane the latch edge rather than the hinge edge, since the hinge edge requires re-mortising.
- Work with the grain in long light strokes.
- Remove a little, rehang and test, then repeat if needed.
- Finally, seal the bare wood with primer and paint.
That last step matters. Unsealed wood absorbs moisture and swells again within a season.
If the Latch Will Not Catch
Sometimes the door closes but does not stay shut. Rub chalk or lipstick on the latch bolt, then close the door to mark where it hits the strike plate. Enlarge the strike plate opening slightly with a file, or reposition the plate a few millimetres.
Mistakes to Avoid
- Do not plane first. Tighten the hinges before you remove any wood.
- Do not use a power drill on hinge screws, because it strips the holes.
- Do not plane the hinge edge, as it means recutting every mortise.
- Do not leave planed wood unsealed.
- Do not remove the door without supporting it. Interior doors are heavier than they look.
Doors That Stick Seasonally
Wood doors swell when humidity rises. If yours only sticks in summer, controlling indoor moisture is a better answer than planing. Our guide on how to reduce humidity in your house covers that. Exterior doors that stick may also signal a weather sealing problem, and our guide on how to seal air leaks explains how to check. The U.S. Department of Energy notes that properly fitted doors reduce both drafts and energy loss. If planing leaves marks, our guide on how to paint a room covers touching up the finish.
Final Thoughts
Now you know how to fix a sticking door in the right order. Tighten the hinges, repair stripped holes with long screws, then shim if needed. Save planing for when nothing else works, and always seal the edge afterwards so the problem does not return.
Questions About How to Fix a Sticking Door
Should I plane it straight away?
No. Tighten the hinge screws first, since loose hinges cause most sticking doors.
Why does it only stick in summer?
Humidity swells the wood. Sealing the edges and controlling indoor moisture solves it without removing material.
What if the screws will not tighten?
The holes have stripped. A three inch screw into the stud behind the jamb is the strongest way to fix a sticking door permanently.
Which hinge matters most?
The top one, since it carries most of the weight. To fix a sticking door, tighten that hinge first and test the swing before anything else.