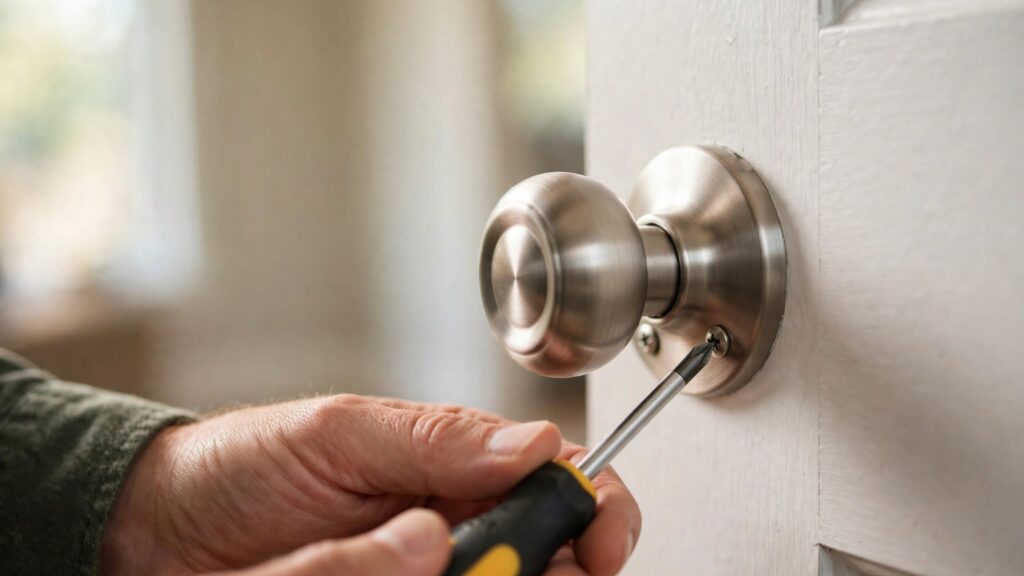
A wobbly knob feels like a broken lock, but it almost never is. Learning how to tighten a loose door knob takes about five minutes with a single screwdriver. The only tricky part is finding the screws, because many modern knobs hide them deliberately. This guide covers how to tighten a loose door knob on both visible-screw and hidden-screw designs.
Why Door Knobs Work Loose
Every time someone turns the handle, the mechanism flexes slightly. Thousands of cycles later, the mounting screws back out a fraction of a turn each.
Doors that slam make it worse. In addition, seasonal movement in wood doors loosens the fit. Therefore a knob that has been in place for years will eventually need attention, which is completely normal.
What You Need
- Phillips screwdriver
- Flathead screwdriver
- A small Allen key set
- A paperclip or a thin nail
- Threadlocker, optional but useful
- Wooden toothpicks and wood glue, for stripped holes
Type 1: Knobs With Visible Screws
This is the easy case. Look at the interior side of the knob and you will see two screws on the rose, which is the round plate against the door.
Tighten both screws a little at a time, alternating between them. Importantly, do not fully tighten one before starting the other, because that pulls the assembly crooked. Then test the knob. If it is snug with no wobble, you are finished.
If the screws spin freely without grabbing, skip ahead to the stripped hole section below.
Type 2: Knobs With Hidden Screws
Most newer residential knobs use a concealed design. Here is how to open them.
Step 1: Find the Detent Hole or Slot
Look along the neck of the knob, right where it meets the rose. You are looking for a tiny hole, a small slot, or a narrow gap in the trim ring. Rotate the knob while you look, since the hole sometimes sits out of view.
Step 2: Press the Detent and Pull the Knob
Insert a paperclip or thin nail straight into the hole and press firmly. You will feel a spring-loaded pin depress. While holding it in, pull the knob off the spindle.
Some designs use a small Allen screw instead. In that case, loosen it with the correct key and slide the knob off.
Step 3: Remove the Rose
Underneath the knob sits a decorative rose plate. It either twists off counter-clockwise or pries off with a flathead screwdriver in a notch at its edge. Work gently to avoid marking the finish.
Step 4: Tighten the Mounting Screws
You will now see the two mounting screws. Tighten them evenly, alternating as before. These are the screws holding the whole latch assembly to the door.
Step 5: Reassemble
Clip the rose back on, then push the knob onto the spindle until the detent pin clicks into its hole. Give the knob a firm pull to confirm it is locked in place.
Fixing Stripped Screw Holes
If a screw will not bite, the hole has worn oversized. Two reliable fixes exist.
First, try the toothpick method. Dip several wooden toothpicks in wood glue and pack them into the hole. Snap them off flush and let the glue cure for an hour. Then drive the screw into fresh wood.
Alternatively, step up to a slightly longer or thicker screw of the same head type. This works well on hollow metal doors where the original screw has lost its grip in the plate.
If the Latch Also Needs Attention
While you have the knob apart, check the latch plate on the door edge and the strike plate on the frame. Loose screws there cause rattling and sticking too.
If the latch no longer lines up with the strike plate, the door itself may have shifted. Our guide on how to fix a sticking door explains how to correct hinge sag, which is the usual reason alignment drifts.
Mistakes to Avoid
- Do not over-tighten the mounting screws. Too much pressure binds the mechanism so the knob will not turn freely.
- Do not tighten one screw fully before the other, because the assembly goes in crooked.
- Do not pry the rose with excessive force, as the trim dents easily.
- Do not use a power drill, since it strips holes in seconds.
- Do not lose the small spring clip inside some roses.
Make the Fix Last
A drop of blue threadlocker on each mounting screw stops them backing out again. Blue is removable, so avoid the permanent red grade.
Also fit a door stop or a soft bumper to reduce slamming. Then add knob checks to your seasonal rounds. Our home maintenance checklist includes small jobs like this that prevent larger repairs later.
When to Replace the Knob Instead
Replacement makes more sense when the spindle is bent, the internal springs have failed so the knob droops, or the latch no longer retracts fully. New interior knobs are inexpensive and install in about fifteen minutes using the same screws. For exterior doors, choosing a quality lockset matters more, and the Consumer Product Safety Commission publishes guidance on home security and child safety hardware.
Final Thoughts
Now you know how to tighten a loose door knob whether the screws are visible or hidden. Find the detent hole, remove the knob and rose, then tighten both mounting screws evenly. Add threadlocker and the repair should outlast the rest of the door hardware.
Questions About How to Tighten a Loose Door Knob
I cannot find any screws. What now?
Look for a tiny hole or slot on the knob neck. Press it with a paperclip and the knob pulls off, revealing the mounting screws.
Why does it keep working loose?
Normal use backs the screws out. A drop of blue threadlocker stops that.
Can over-tightening cause problems?
Yes. When you tighten a loose door knob too far, the mechanism binds and the knob stops turning freely.
Do I need special tools?
No. A paperclip and a screwdriver are enough to tighten a loose door knob on almost every residential lockset.