Peeling paint on a ceiling is always a symptom of something else. Paint does not let go without a reason. Usually moisture is working behind it, or the previous coat was applied over a surface it could not grip. Therefore painting straight over the flakes guarantees it comes back. This guide explains how to diagnose the cause, prepare the surface properly and repaint so the repair lasts.
Find the Cause Before You Touch a Scraper
Work through these possibilities first, because the cure depends on the cause.
Moisture From Above
Look for brown or yellow staining around the peeling area. That almost always means a roof leak, a plumbing leak or condensation in the attic.
Press the area gently. A soft or spongy feel means the drywall is still wet. Fix the leak before anything else, or you will repaint the same patch next year. Our guide on how to find a water leak explains how to trace one, and our guide on how to clean gutters covers a very common source of roof water getting in.
Bathroom or Kitchen Humidity
Peeling above a shower or stove usually means steam has been condensing on the ceiling. In that case, improving ventilation is part of the repair. Run the extractor fan for 20 minutes after every shower.
Painting Over the Wrong Surface
Latex paint applied directly over old oil-based paint, over a glossy finish, or over bare drywall without primer has very little to grip. Consequently, it peels in sheets with clean edges and no staining.
Painting Over a Texture or Popcorn Finish
Water-based paint rolled onto unsealed texture can dissolve it slightly, which breaks the bond. This often shows up as paint peeling with texture attached to the back.
What You Need
- Drop sheets and plastic to protect the floor
- A sturdy ladder
- Safety glasses and a dust mask
- A flexible putty knife and a paint scraper
- Joint compound and a wide taping knife
- Sanding sponge or pole sander
- Stain-blocking primer
- Ceiling paint and a roller with an extension pole
Step 1: Check the Age of the Paint
This matters for safety. Homes painted before 1978 may have lead-based paint underneath. Do not dry scrape or sand it.
Instead, test first with an inexpensive kit. The EPA provides guidance on identifying and handling lead paint safely, and recommends a certified professional for disturbance of lead surfaces.
Step 2: Scrape Back to Sound Paint
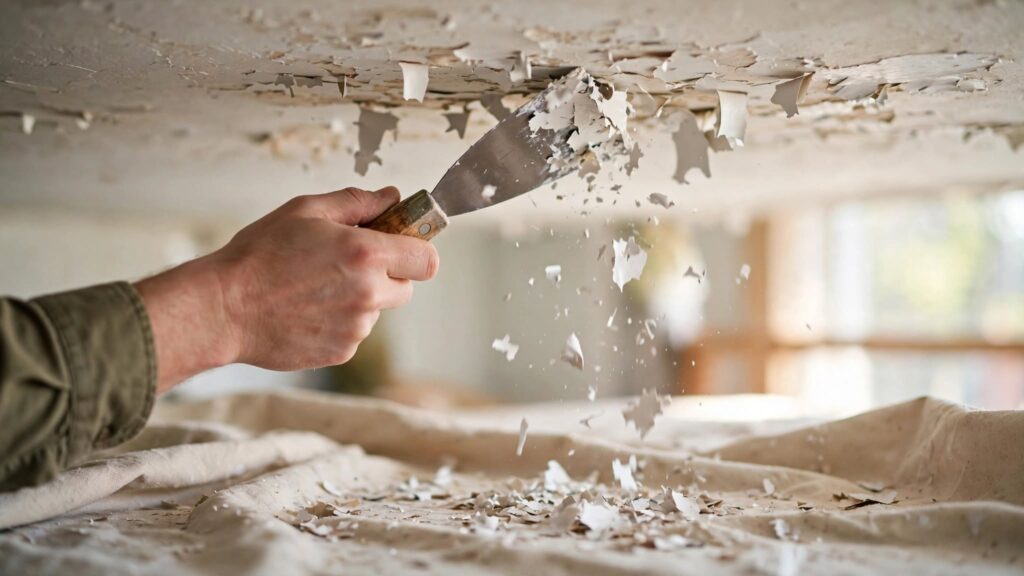
Cover everything below, because this stage is messy. Then scrape with a putty knife held at a low angle.
Keep going until the paint stops lifting. Importantly, test the edges by pushing the knife under them. If it slides in, that paint is not bonded and must come off too. Stopping too early is the single most common reason repairs fail.
Step 3: Feather the Edges
You now have a crater with a hard rim. Sand the edges with a medium sanding sponge so the transition becomes gradual rather than a ridge.
Run your hand over it with eyes closed. You should not feel a step. Then vacuum the dust and wipe with a damp cloth.
Step 4: Skim With Joint Compound
Apply a thin layer of joint compound over the repair with a wide knife. Work beyond the edges and feather it out to nothing.
Let it dry fully, then sand smooth. A second thin coat usually gives a better result than one thick one. Our guide on how to patch a hole in drywall covers compound technique in detail.
Step 5: Prime, and Do Not Skip This
Priming is what makes the new paint stick. Use a stain-blocking primer, and choose an oil-based or shellac-based product if any water staining remains. Water-based primer will let those stains bleed through.
Prime the repair plus a generous margin around it. Let it cure for the full time on the tin.
Step 6: Repaint the Whole Ceiling
Spot painting a ceiling almost never blends, because sheen and colour differ even with the same tin. Instead, roll the entire ceiling in two coats.
Use a flat ceiling paint, since flat finishes hide imperfections far better than eggshell or satin. Keep a wet edge and roll in one direction for the final coat.
Mistakes to Avoid
- Do not paint over peeling paint. It will fail again within a season.
- Do not ignore brown staining, because it means active moisture.
- Do not use water-based primer over water stains.
- Do not dry sand possible lead paint.
- Do not spot paint a ceiling and expect an invisible repair.
- Do not work without eye protection, as debris falls directly into your face.
Prevent It From Happening Again
Fix the moisture source permanently. Then improve ventilation in wet rooms, and keep indoor humidity between 30 and 50 percent. Our guide on how to reduce humidity in your house explains how, and our guide on how to paint a room covers the preparation habits that prevent adhesion failures in the first place. Always prime bare drywall and always prime before putting latex over old oil paint.
Final Thoughts
Peeling paint on a ceiling is a preparation and moisture problem, not a paint quality problem. Find the water, scrape until the edges hold firm, skim and sand smooth, then prime with a stain blocker. Do those four things and the repair will outlast the rest of the room.
Questions About Peeling Paint on a Ceiling
Can I paint straight over it?
No. Any paint applied over unbonded flakes will peel again within a season.
What does brown staining mean?
Active or past water intrusion. Find and fix that leak before you repaint anything.
Do I have to repaint the whole ceiling?
Usually yes. Spot repairs to peeling paint on a ceiling almost never blend, because sheen differs even with the same tin.
How far back should I scrape?
Until the edges stop lifting when you push a knife underneath. Stopping too early is the main reason peeling paint on a ceiling comes straight back.